How to make and Upload an onLine247 Gallery


  There are 4 parts ....  
     
  1: Login Online and set up the new gallery, ready to accept uploaded images and thumbnails.  
       This is when you set the prices and sizes you wish to sell and list your freight options.  
     
  2. Use Photoshop and make your thumbnails and viewing size images.  
       Usually you make your thumbnails as 100 pixels and your viewing images as say 350 pixels.  
       However you can mix and match. On say a school formal, make your viewing images as 350 pixels  
       but with your group photos, make them 550 or 650 pixels and then upload the mixture of viewing images.  
     
  3. Upload Images & Thumbnails using an FTP program into the framework of the gallery you made in step 1.  
     
  4. Activate uyour new gallery by clicking on view in your Admin Gallery List.  


  1: Make your Gallery.  
 

Login to your    

Photogalleries247 admin panel    
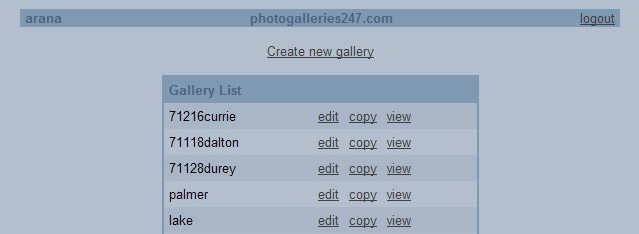


http://www.admin.photogalleries247.com/      


Either press    

Create new gallery     

or     

copy a previous gallery's structure     


  Gallery Folder - use an unique lower case all one word name ( this is simply the web folder name)

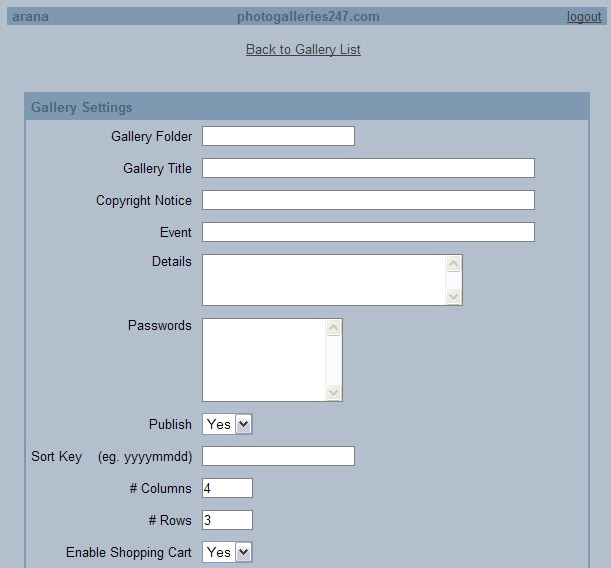
Gallery Title - appears above the gallery when viewed on the net.

Copyright Notice - appears below each le image in the gallery.

Event - How you want the Item to appear in your Event list in the Client Viewing area. This box will respond to html tagging.

ie to make a word bold, simply list it as <B>Bloogs Wedding</B>

Details - for your own admin data

Passwords - leave blank for no password/s or list as many passwords as you require. This field is not case sensitive. Always place a master password of you own and list any possible misspelling of your passwords. Do not use any punctuation. All words must be on new lines.

Publish - To appear or not to appear in the Events List. Set up each gallery as " No" when you first make the gallery and then change to "Yes" when you have uploaded the images and thumbnails or leave as "No" for private galleries.

Sort Key - is only used as a way of sorting your event's list into order. Newest events appear at the top of the list. If you want an event to appear on top of the list, then give it today's date.

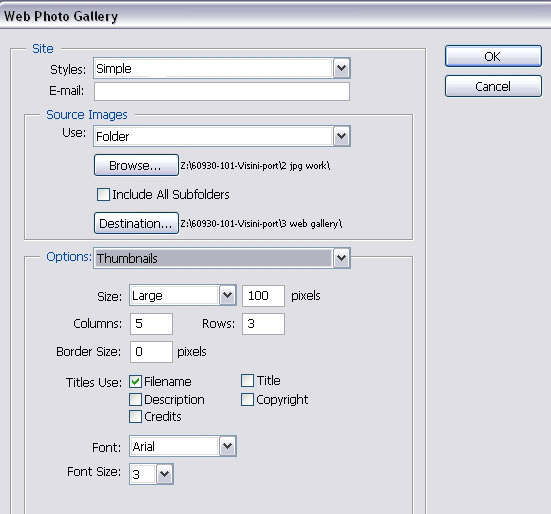
Columns Rows - use 3 rows of 4 as ideal.

Enable Shopping Cart - You can set up a gallery without a shopping cart. Many photographers have seperate logins so they can set up display galleries very easily.


  Print Sizes - must finish the line with an amount followed by a comma. Amounts can be listed as $125.00, or $125,

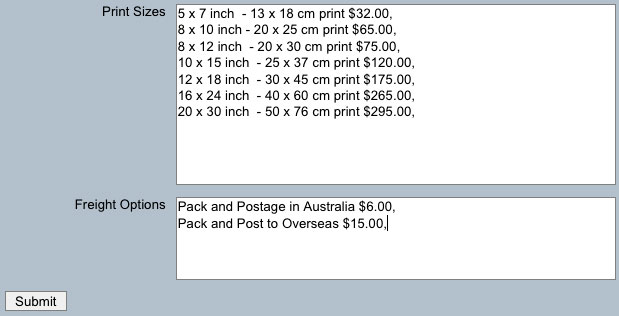
Use the same rules for Freight Options, end with an amount followed by a comma,

If you start receiving orders that fail to total and list " $Nan " as the total, then you have a line that does not end with an amount.

The comma is needed for some different operating systems.

press Submit and this will create the gallery online ready to receive the thumbnails and the images. You can change any option in this page except the gallery folder name at any future time.


  Step 1 is now completed.  
   
  2: Make Images & Thumbnails.    
       
  Open Photoshop,

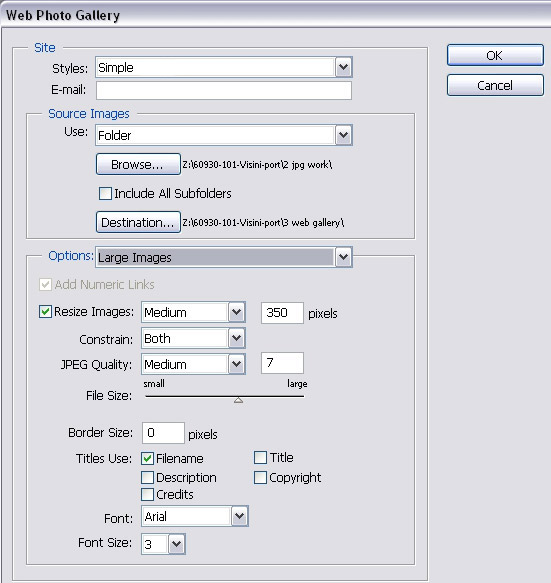
Automate, Web Photo Gallery


  As we only need Photoshop to make our thumbnails and viewing images, just pick "simple " as the gallery Styles.

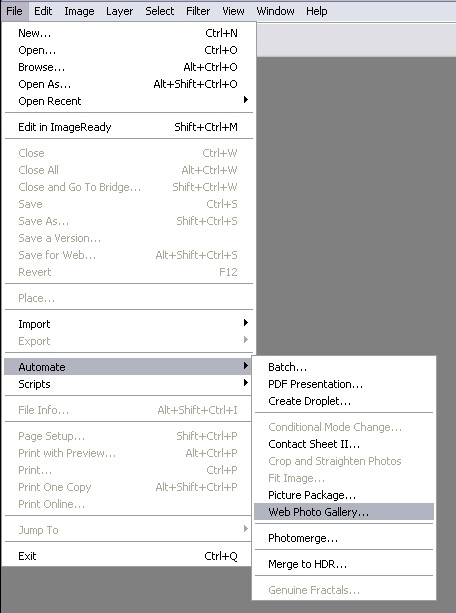
Use Browse to source your images and Destination to put the Images and Thumbnails into ready to upload to the web.

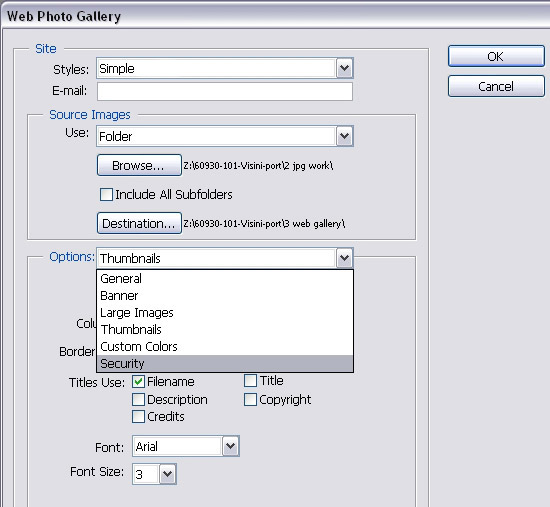
On the Options menu we only need Large Images, Thumbnails and Security. Ignore the rest.


  Thumbnails, we only need size, I always use Large 100 pixels unless it is sporting teams, then I use 200 pixels.  
       
  For the Large Images,

use say Medium 350 pixels.

I quite often make galleries that have mixed viewing sizes. Great for the big groups mixed with small individual images.

JPEG Quality, Use Medium 7 as your setting.


  Use Custom Text to put the Copyright Symbol over all your images. At Opacity 28% , the image can still be viewed OK.

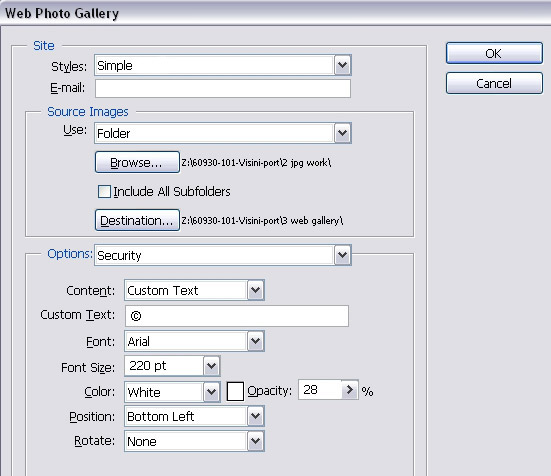
I have blocked right click, disabled page printing and stopped the file being saved. But if somebody is determined to have the image they will only get it with the © overlaid.  Do this using the setting listed to make sure if somebody does do a screen grab, then they get a rather large Copyright Symbol over the image. I sometimes use 2 in a row ©©.

You can make the © Symbol by holding down the ALT key and pressing 0169 on the right side keypad. It will not work on the top numeral keys.
If you only have a laptop without a numeric keypad, then you can cut and paste.


  Now hit Ok and make your thumbnails and view images. It will also make other files like HTML pages etc, just discard these.  
       
  Step 2 is now completed.    
     
       
  3: Upload you Images.    


  Now use your FTP program to upload your images to the web. We will supply you with the 3 settings require 

FTP Host Name

UserID

Password

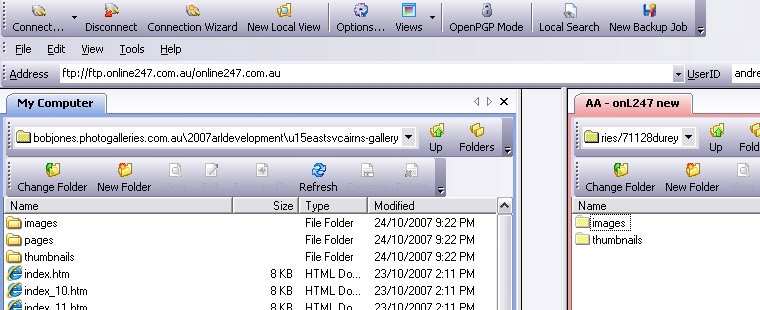
I use WS FTP Pro as my choice of FTP Program.

For a free Shareware FTP Program try www.filezilla-project.org for a PC or Cyberduck for a Mac. This also is a free shareware program from www.cyberduck.ch/


  Only upload the images folder and the thumbnail folder.

If your gallery does not work, quite often it is because you have placed a folder inside a folder. Just select folder over folder and the contents will transfer perfectly.


  Step 3 is now completed.    
       
     
  4: Activate your Gallery.    
  The only step left to do is " activate your gallery " This step is important and is the one step that causes the most calls / emails for help.  
  Your Gallery must be activated, even if it appears to be already working in some cases. Trust me, not all the parts will be working.  
  If you add more images and matching thumbnails at a later date, you must again activate your gallery, so your extra images can be viewed.  
       
  Activating your gallery is simply done by clicking on the view button in your admin screen and then inserting the password if you set a password and clicking on a few thumbnails and having a bit of a look around your new gallery.

Don't forget to Activate your Gallery. 

Don't forget to change your Publish setting to Yes, so it appears in the Events List in the Client Viewing Area.


  The galleries have be made with separate steps for sizing in Photoshop and uploading using an FTP Program to gain extra features not normally available on Photo Gallery Shopping Carts. To delete a gallery, change the setting to Not to Publish, it will then disappear from the Event Listing and then email me to delete the images from the server. Deletion can only be done by the server Administrator for security reasons.  
     
  When your customer places an order, you will receive an email with the Credit Card info XXXed out. Login into the database and retrieve copies of your orders with the credit card details listed.  


LogIn at:  https://www.online247.com.au/orders/  


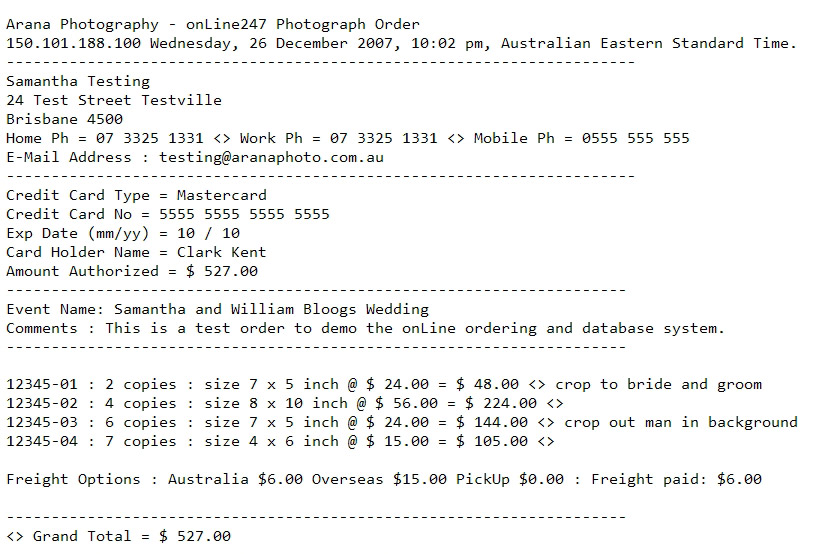
Your Order list will look like this, then click on view  


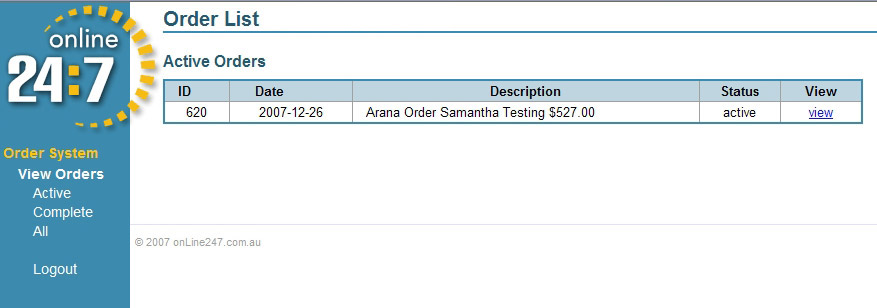
After clicking on view, Insert Your Decryption Passphrase         ( passphrase is only inserted once per session )      


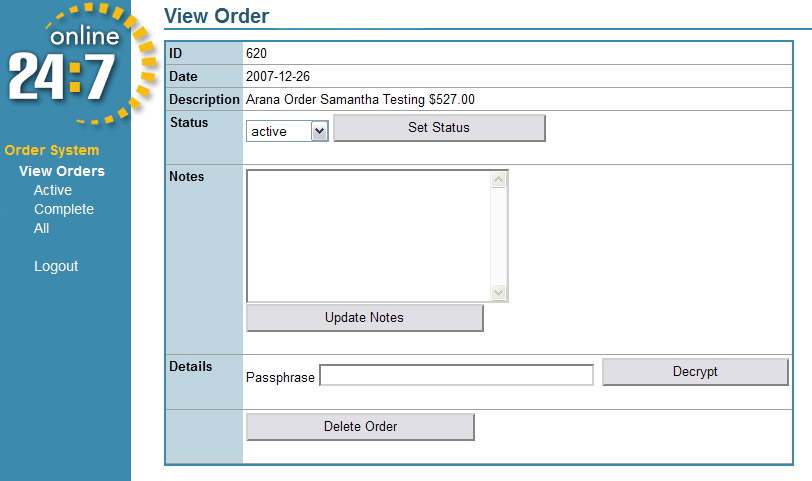
View and or Print your Order              


or View as full page           


  Any problems, please email me on:  stephenjones@online247.com.au